Speed Hooks with 7/64 Amsteel
UPDATE - 10/7/2015
I have discontinued use of this suspension set up as a result of fraying on the Amsteel. The Speedhooks see to be abrasive and cause the fibers in the cordage to fray. I'm not sure how much it would take to actually result in failure. But, I'm not willing to find out the first day of a multi day trip. The last I checked DutchWare Gear quit selling the Speed Hooks as well.
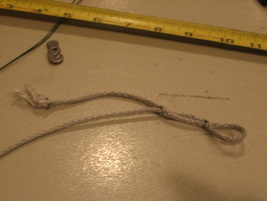
When it comes to hammocks there are nearly endless options. Among those countless options is suspension. Today (I say today because someone will come up with something else soon), the hot thing is using speed hooks from DutchWare (dutchwaregear.com) and Amsteel. This set up as advantages over Whoopie Slings and UCRs in that it uses about 1/2 the amount of cord because there are no long buries.
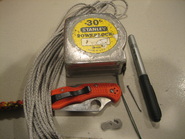
Things you'll need to get started:
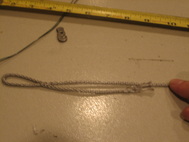
First off, you will need to decide what works best for you. I went with 2" loops and a 3 1/2" bury (I think 4" is common). I also decided on a 2" bury for the tail (this is to keep the speed hook from coming off and give a finished end). You may opt for a bigger loop and longer bury (especially if pushing higher weights).
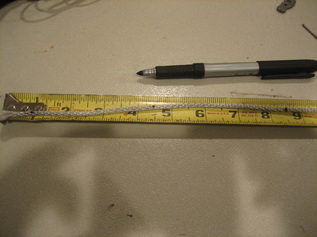
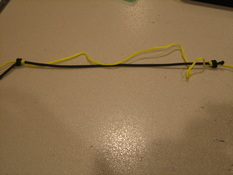
Step 1: Measure and mark for the loop - 1" taper + bury - 3 1/2" here + loop - 4" to give a 2" loop here. That's 8 1/2" that will need to be added to your desired finish length. At the other end measure and mark for the desired length tail you want. For a 2" tail - 1" taper + 2" bury. This will also be added to the finished length.
I have discontinued use of this suspension set up as a result of fraying on the Amsteel. The Speedhooks see to be abrasive and cause the fibers in the cordage to fray. I'm not sure how much it would take to actually result in failure. But, I'm not willing to find out the first day of a multi day trip. The last I checked DutchWare Gear quit selling the Speed Hooks as well.
When it comes to hammocks there are nearly endless options. Among those countless options is suspension. Today (I say today because someone will come up with something else soon), the hot thing is using speed hooks from DutchWare (dutchwaregear.com) and Amsteel. This set up as advantages over Whoopie Slings and UCRs in that it uses about 1/2 the amount of cord because there are no long buries.
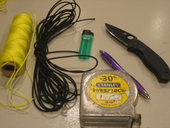
Things you'll need to get started:
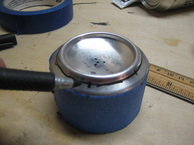
- Speed Hooks (2)
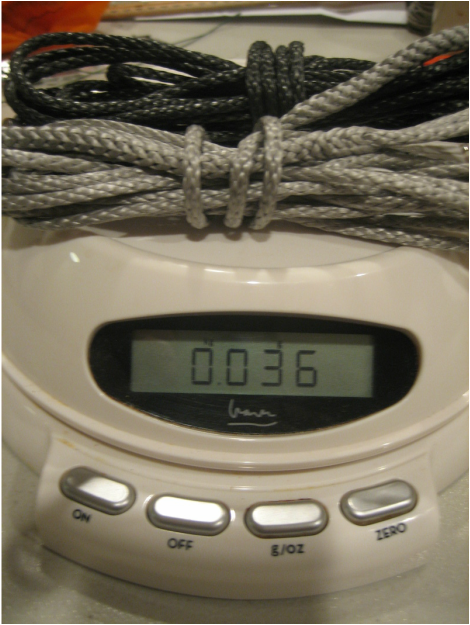
- Amsteel - 7/64 or 1/8 depending upon weight ratting you need. You will have to decide on the finished length you need. I opted for 10' since I plan on using shorter tree straps (3').
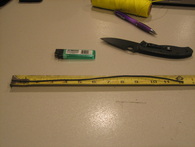
- Tape Measure
- Knife
- Maker
- Small nail
- Fish tool (I used florist wire that we had on hand)
First off, you will need to decide what works best for you. I went with 2" loops and a 3 1/2" bury (I think 4" is common). I also decided on a 2" bury for the tail (this is to keep the speed hook from coming off and give a finished end). You may opt for a bigger loop and longer bury (especially if pushing higher weights).
Step 1: Measure and mark for the loop - 1" taper + bury - 3 1/2" here + loop - 4" to give a 2" loop here. That's 8 1/2" that will need to be added to your desired finish length. At the other end measure and mark for the desired length tail you want. For a 2" tail - 1" taper + 2" bury. This will also be added to the finished length.
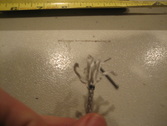
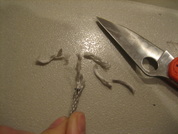
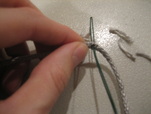
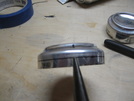
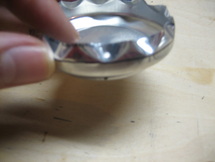
Step 2: Taper each end by separating the Amsteel by pinching it open & pulling apart with nail and cutting individual threads to taper to 1".
 |  |
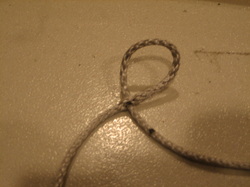
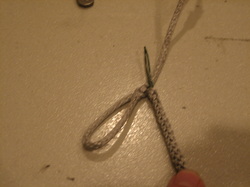
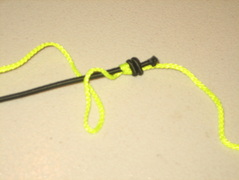
Creating the Fixed Loop with locked brummel.
Step 3: At you long measurement (8 1/2" in this project), separate the individual threads by pushing/pinching the line together at the mark. Insert your fish tool through the line, between the individual threads) from one side to the other making sure you have an even amount of threads on each side of the fish tool (also be careful to push the fish through between the threads and not through them).
Step 3: At you long measurement (8 1/2" in this project), separate the individual threads by pushing/pinching the line together at the mark. Insert your fish tool through the line, between the individual threads) from one side to the other making sure you have an even amount of threads on each side of the fish tool (also be careful to push the fish through between the threads and not through them).
Once you have the fish through, insert the taper of the short end into the fish and pull it back through the line. You will need to pull enough through that middle (4 1/2") mark passes through.
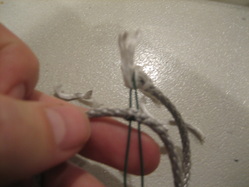 |  |
Step 4: Open the 4 1/2" mark up and insert the fish tool. Again, insert the taper of the short end into the fish and pull it back through the line.
 |  |
Step 5: Pull the loop tight make the loop. Note where the short tail stops and insert your fish tool just beyond that point. Note, here you are inserting tool into the hollow core of the line, toward the fixed loop. Not, through the line as previously.
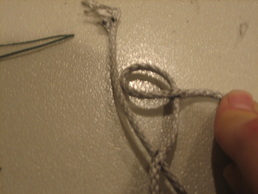
Feed the fish tool through the line to come out as close to the fixed loop as possible. Insert the taper of the short end into the fish tool and carefully work the line back through itself. Once you have the line pulled back through itself, remove your fish tool and "milk" the line back down until the tail is buried inside.
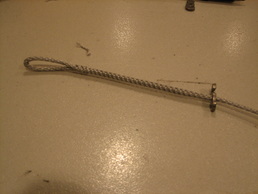
Creating the tail.
You're done. Now, add some tree straps and you have an ultra light suspension!
Good Luck!
Good Luck!


 RSS Feed
